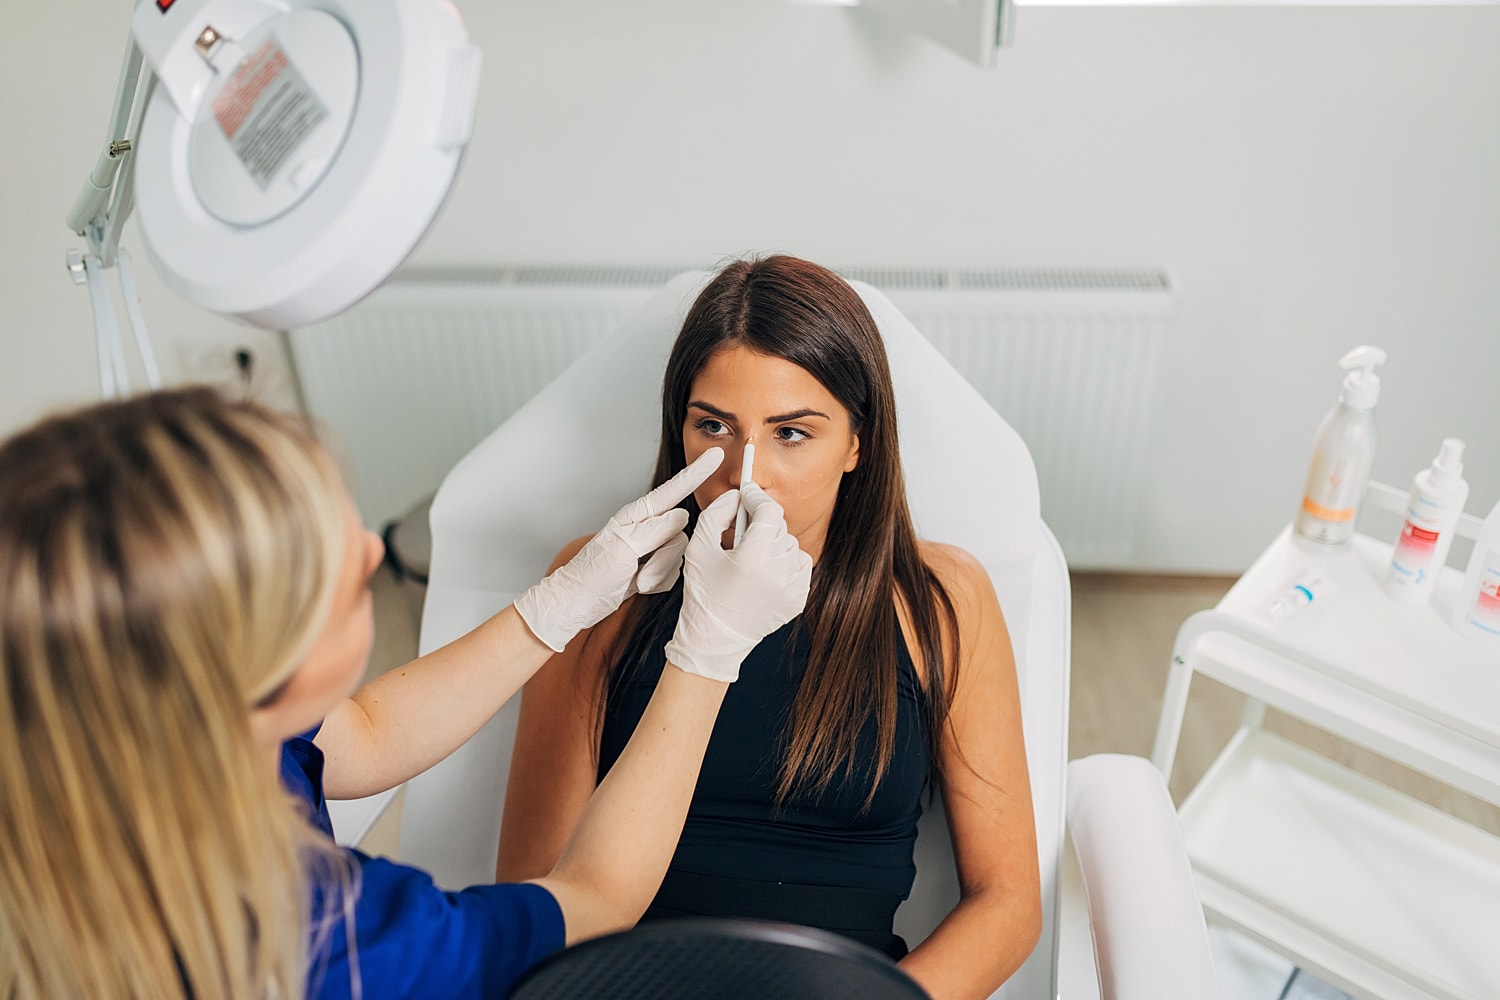


First of all, congratulations! Whether you chose rhinoplasty for cosmetic reasons, functional improvement, or a mix of both, you've just taken a big step toward feeling more confident in your skin (and nose). But the surgery itself is just one part of the journey - healing properly is where the real magic happens.
One of the most important tools you'll use during recovery is nose taping. That humble roll of medical tape can make a huge difference in your final results, but only if you use it the right way.
In this blog, we'll walk you through why taping your nose after rhinoplasty matters, the step-by-step process to do it properly, common mistakes to avoid, and how to know when it's time to stop taping.
Taping is a strategic move that supports your nose while it heals and helps guide the tissues into their new shape. It helps with:
Your surgeon may recommend taping anywhere for several months after your rhinoplasty, depending on your anatomy and your procedure.
Before you start, make sure you've got the right materials on hand. Here's a helpful mini checklist:
You should always follow your plastic surgeon's specific instructions since post-op care may vary based on your individual case. If they say to tape a certain way - do it!
Before applying any tape, gently cleanse your face, especially your cheeks and nose, with a mild, non-oily cleanser. Pat dry with a soft towel. The skin should be clean and dry so the tape can adhere properly.
You'll need about four strips of medical tape (some people may need one more or less - you'll learn as you go!). Each strip should be long enough to reach from one cheek to the other, passing across the bridge of your nose. Think cheekbone to cheekbone, not just "nose width."
Tip: If you're unsure of the length, hold the tape across your face before cutting.
Take your first strip of tape and place it gently across the upper bridge of your nose, from one cheek to the other. It should lie flat across the bridge right beneath the eyes. Apply light pressure to make sure the tape adheres, but it shouldn't be tight or constricting.
Apply the next three strips, each slightly below the last, working downward along the nasal bridge toward the middle third of your nose.
Make sure to overlap the tape slightly so each strip supports the one above it. Layering helps provide consistent, gentle compression without creating uneven pressure points.
Most surgeons recommend taping overnight when swelling tends to accumulate. You'll apply the tape before bed and gently remove it in the morning (with an oil based cleanser).
Some patients are advised to tape during the day and night during the initial few weeks. It really depends on your recovery timeline and your surgeon's protocol.
In general, you'll still be wearing a nasal splint placed by your surgeon during the first week or two after your rhinoplasty. During weeks two through six, you may begin nightly taping at home to control swelling. After week six, taping might continue as needed if swelling persists, especially in thicker skin types.
Always confirm your taping schedule with your provider!
Be gentle when removing the tape. Use warm water or a little facial oil to help loosen the adhesive and avoid pulling your skin. Tweezers can be used to pull the tape away gently. Make sure you are staying consistent. Taping regularly is more effective than doing it sporadically.
Use the right size strips. Too short, and you won't get full support. Too long, and it'll irritate your cheeks. Moisturizing your skin is important, too. If the tape causes irritation, apply a lightweight, non-comedogenic moisturizer after removal to keep your skin barrier healthy.
We can not stress this enough, but check in with your surgeon. If you're not sure you're doing it correctly (or if swelling seems worse), schedule a post-op visit.
Taping the tip can alter the final shape and reverse some of the effects of your surgery - don't put yourself through the trouble. Just don't apply tape to the bottom of your nose (unless your surgeon recommends otherwise). Applying tape too tightly can cause discomfort, redness, or even damage to tissue.
If your surgeon recommends it, it's not optional. Taping plays a real role in your recovery, so make sure that you are being consistent and taking your post-op care seriously.
Taping your nose after rhinoplasty might seem like a tiny detail, but it's one of those behind-the-scenes steps that can truly influence your outcome. It helps your new nose settle into place with less swelling, more precision, and better overall healing.
As a reminder:
With a little consistency, a lot of patience, and a gentle hand, you'll be giving your nose the best possible shot at a smooth, elegant recovery. Have questions or need a refresher on technique? Eos Rejuvenation is always here to help. Contact our office for post-op support or schedule a follow-up visit to make sure everything's healing just right.